Install Windows on VMware Workstation (2024): Step-by-Step Guide for Beginners
How to Install Windows on VMware Workstation: The Ultimate Safe Testing Guide
Want to test Windows updates, unsafe software, or cybersecurity tools without crashing your main PC? Installing Windows on VMware Workstation creates a secure, disposable virtual environment that 92% of IT professionals rely on for risk-free experimentation. Follow this beginner-friendly guide to set it up in <15 minutes!
Why Use VMware Workstation for Windows?
✅ Zero Risk to Your Main PC: Contain viruses, unstable apps, or config errors
💰 Save Hardware Costs: Run multiple OS versions on one machine
🛡️ Perfect for Cybersecurity Practice: Analyze malware safely
⚡ Snapshot Recovery: Roll back mistakes instantly
You’ll Need:
VMware Workstation Pro/Player (Free Trial Here)
Windows ISO File (Official Microsoft ISO Download)
16GB Free Storage | 8GB+ RAM Recommended
Step-by-Step: Install Windows on VMware
Step 1: Create Your Virtual Machine
Open VMware > Click "Create a New Virtual Machine"
Select Installer disc image file (ISO) > Browse to your Windows ISO
Choose OS: Microsoft Windows > Windows 10/11 x64
*ℹ️ Pro Tip: Enable "Virtualize Intel VT-x/AMD-V" in BIOS/UEFI for 40% better performance!*
Step 2: Configure Virtual Hardware (Critical!)
Optimize these settings for smooth Windows performance:
| Setting | Recommendation | Why It Matters |
|---|---|---|
| Processors | 2+ Cores | Prevents OS lag |
| Memory (RAM) | 4GB+ (8GB ideal) | Avoids system freezes |
| Hard Disk | 60GB+ (Thin Provision) | Saves physical space |
| Network | NAT (Default) | Internet access |
⚠️ Warning: Allocating >50% of your RAM may slow down your host OS!
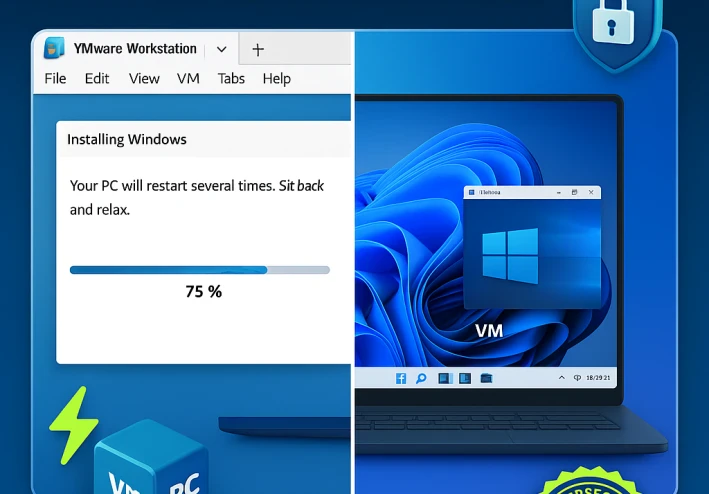
Step 3: Install Windows Like a Physical PC
Power on the VM > Follow Microsoft’s installer prompts
Skip product key (activates later or use trial)
Create a local user account (avoid Microsoft login for test environments)
Wait 10-20 minutes for installation to complete
Post-Installation Must-Dos
Boost security and performance with these tweaks:
Install VMware Tools:
VM > Install VMware Tools > Autorun installer
Benefit: Enables drag-and-drop, better graphics, shared folders
Enable Snapshots:
VM > Snapshot > Take Snapshot
Save states before risky tests!
Isolate Network:
Edit VM Settings > Network Adapter > Host-only
Blocks test malware from reaching your real network
Watch the Video Walkthrough
Troubleshooting Quick Fixes
"Operating System Not Found":
Reconfigure VM > Set firmware to UEFI (not BIOS)
Slow Performance:
Disable animations in Windows > Turn off visual effects
Allocate more CPU cores in VM settings
No Internet:
Verify adapter is set to NAT or Bridged
Unlock Advanced Cybersecurity Testing:
Now that your Windows VM is running:
🚀 Test ransomware in a sandbox
🔍 Analyze registry changes safely
🛡️ Practice incident response on infected VMs
(Upcoming Guide: "10 Deadly Malware Analysis Labs for Beginners")
Found this helpful? Support our channel!
👍 Like the video tutorial
💬 Comment below with your VMware questions
🔔 Subscribe for more virtualization/cybersecurity guides